
This post appeared originally in our sysadvent series and has been moved here following the discontinuation of the sysadvent microsite
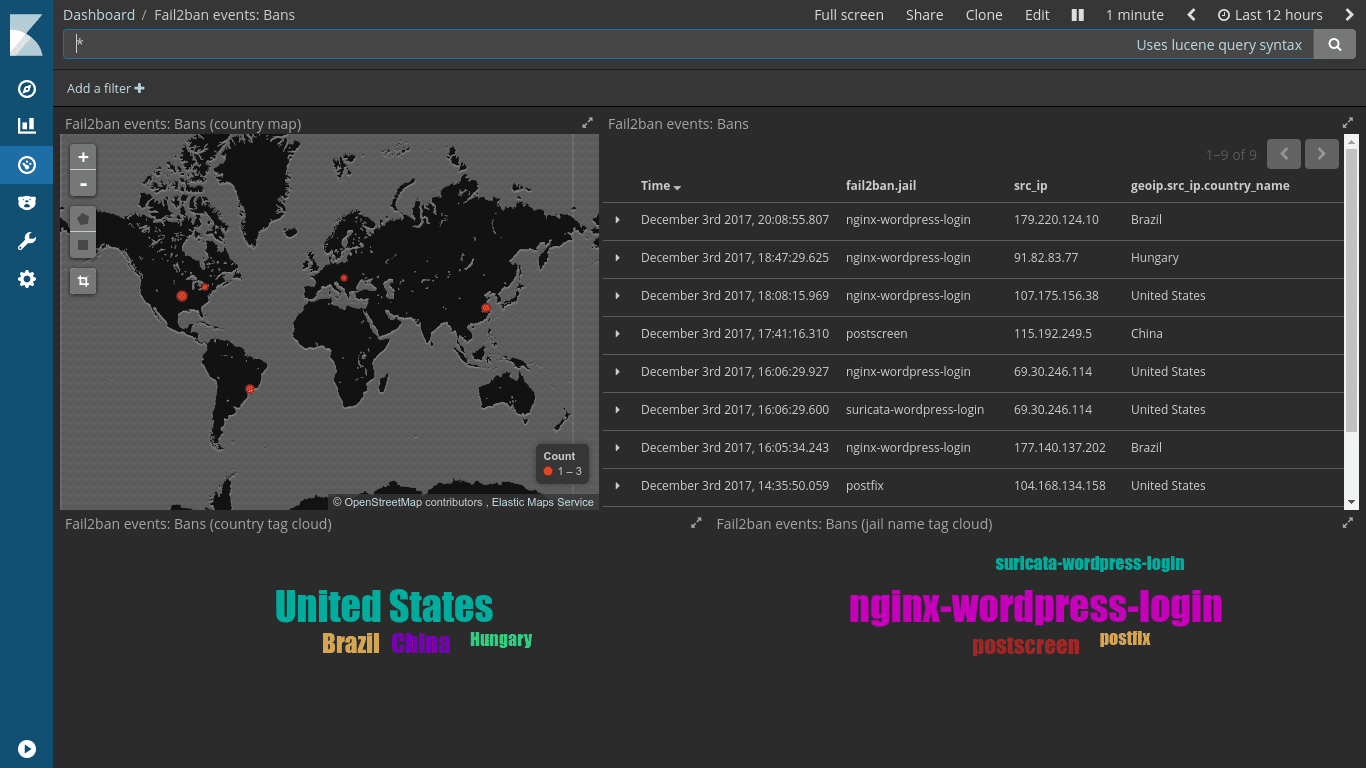
fail2ban is one of several tools designed to protect other services by blocking unwanted and possibly repeating activities. Its most common use case is probably protecting the SSH server from brute-force attacks, where repeatedly failed login attempts will be generously rewarded with an iptables firewall ban or some other variant of blocking or null routing.
By monitoring the correct set of log files and applying regular expression patterns to the observations, fail2ban will extract and remember offending IP addresses. After a configurable number of attempts within a configurable period of time, fail2ban will subsequently ban the IP address for a period of time (also configurable, of course).
In the case of SSH login attempts, let’s consider the following log line:
sshd[5888]: Invalid user pi from 95.103.229.227
The corresponding line for detection in fail2ban’s configuration is
^%(__prefix_line)s[iI](?:llegal|nvalid) user .* from <HOST>\s*$
From this pattern, the content found at the <HOST> placeholder is
extracted and used to implement a firewall ban. There are many other
patterns as well, built to detect different failures and unwanted
activity.
While fail2ban does a very good job protecting SSH service, it’s not the only one it can protect. With its pattern files, called filters, fail2ban provides support for well-known services, such as mail servers, web servers, FTP servers and name servers. Generic PAM support and SELinux are also covered by fail2ban, and many more.
Thanks to a well-documented format, fail2ban allows custom filters. By creating your own filters it’s easy to make fail2ban protect custom applications. For instance, to help protect a WordPress installation from brute-force logins, the following filter detects repeated failed login attempts:
[INCLUDES]
before = common.conf

[Definition]
failregex = ^<HOST> \- \S+ \[.*\] \"GET /wp-login\.php
            ^<HOST> \- \S+ \[.*\] \"POST /wp-login\.php
Bonus feature: If your WordPress installation is configured without XML-RPC support there should be no reason for anyone to request it. In that case, a third line could be added to the failregex:
[INCLUDES]
before = common.conf

[Definition]
failregex = ^<HOST> \- \S+ \[.*\] \"GET /wp-login\.php
            ^<HOST> \- \S+ \[.*\] \"POST /wp-login\.php
            ^<HOST> \- \S+ \[.*\] \"POST /xmlrpc\.php
The above content should be saved to a file with a name that can be
easily referenced. I’ve chosen to name mine
nginx-wordpress-login.local. If you’re wondering about the .local
file suffix: Files provided by the distribution’s
packages are suffixed .conf while local adjustments, suffixed
.local, will be left untouched during upgrades. The filter file will
later be called from jail.conf, or rather jail.local, as shown
below:
[nginx-wordpress-login]
enabled  = true
port     = http,https
logpath  = /var/log/nginx/*access.log
maxretry = 2
bantime  = 86400
The above says that if the pattern from the filter is found two times or more from the same IP address - a typical sign of brute-force attempts - in the default time-span of 10 minutes (since a specific findtime wasn’t defined), fail2ban will block the offending IP address for 24 hours (86400 seconds).
Blocking via other software
Fail2ban should be installed on the components closest to those it should protect against. Let’s say you have a reverse HTTP proxy in front of some web application; in this case you should run fail2ban on the frontend proxy server. It might even make no sense at all to run fail2ban on the application server itself, as you could - depending on your addressing scheme and lockout implementation - end up blocking the frontend proxy from reaching the application server. Fail2ban should always be installed where there’s end-to-end, un-NATed connectivity to the offending IP address. For a setup like this, custom filters should be written for monitoring the proxy’s access and error logs.
But how about unwanted activity that’s not even logged? An intrusion protection system (IPS) could be installed, but ideally not on the same server. A cheaper solution with possibly lower risk of breaking production traffic is introducing an intrusion detection system (IDS), and configuring fail2ban to read the IDS logs and act accordingly.
A couple of log entries from the Suricata IDS can be found below. These could all easily form the basis for fail2ban filters. Note that the IDS has reacted to HTTP content that won’t normally be logged by the web server.
[**] [1:2012998:4] ET WEB_SERVER PHP Possible https Local File Inclusion Attempt
[**] [Classification: Web Application Attack] [Priority: 1]
{TCP} offending.ip.address:13640 -> my.ip.address:80
[**] [1:2011768:6] ET WEB_SERVER PHP tags in HTTP POST
[**] [Classification: Web Application Attack] [Priority: 1]
{TCP} offending.ip.address:3871 -> my.ip.address:80
[**] [1:2012887:3] ET POLICY Http Client Body contains pass= in cleartext
[**] [Classification: Potential Corporate Privacy Violation] [Priority: 1]
{TCP} offending.ip.address:29386 -> my.ip.address:80
Note: By using a tool like fail2ban you may block all activity from an IP address that conducts suspicious activities, for a predefined time, while an IPS will block only the offending network packets or segments. Whether that’s a good or a bad thing is in the eye of the beholder.
Also note: If using an IDS and fail2ban for protecting services, remember that blocking the offending IP address will happen after the activity was registered. An IPS will reject the traffic before it reaches the service.
But wait, there’s more
Bruteforce bots in good shape can keep it up for a long time. If you configure fail2ban to block a bot for one hour, it could easily come back and pick up where it left.
Instead of immediately re-banning recurring IPs every time their ban is lifted, repeat offenders could receive a longer ban. One way to implement this is by asking fail2ban to inspect its own logs. By applying a pattern looking for the unbanning of an IP address, and giving it a wider period of time, fail2ban will use its own logging
This is the pattern file (repeat-offender.local) for detecting
repeat offenders:
[Definition]
failregex = fail2ban\.actions\s*\[\d+\]: (NOTICE|WARNING)\s+\[.*\]Unban <HOST>$
ignoreregex = fail2ban\.actions\s*\[\d+\]:(NOTICE|WARNING)\s+\[repeat-offender\].*$
Below is the corresponding section from the jail.local file. Note
that with repeat offenders, iptables will start blocking them on all
ports, not only for the service ports they’ve abused.
[repeat-offender]
enabled = true
filter = repeat-offender
port = all
banaction = iptables-allports
logpath = /var/log/fail2ban.log
# Repeat offender if previously banned 3 times within 5 hours.
maxretry = 3
findtime = 18000
# Ban for 48 hours.
bantime = 172800
Updates
- Update link to suricata website.
- 2025-11-25 Updated the Image credit link

EL9's grubby sorting
So I had this el9 machine that had been sitting quietly waiting for updates for a bit too long. Blinded by courage, I went in and did a
dnf update, rebooted, and lo and behold, it worked without a hitch afterwards. Except just one small one: It did not automatically boot the newest kernel. I tried the standard things. Look at /etc/default/grub, look at the output of various grubby commands. To no avail. It simply would ... [continue reading]